A Beginner's Guide to Dockerizing React Applications Built with Vite

As a full-stack web developer and technical writer, I bring a unique combination of skills to every project I work on. With experience in both web development and technical writing, I can develop custom solutions that are not only high-performing and user-friendly but also well-documented and easy to maintain. I have expertise in a wide range of programming languages and technologies, including HTML, CSS, JavaScript, React, Node.js, Python, and SQL, as well as technical writing tools and techniques. I am committed to delivering projects on time and within budget while ensuring that the final product meets the unique needs of the client. Let's work together to create something amazing that meets your needs and exceeds your expectations.
Introduction
Containerizing React apps introduces developers to Docker, which streamlines deployment, scalability, and consistency across environments. This beginner's guide covers Dockerizing Vite-built React apps. This detailed essay explains Docker containers and provides step-by-step directions for containerising React apps and streamlining the development workflow with Docker and Vite.
Prerequisites for this technical article:
Basic knowledge of React:
- Familiarity with React concepts and components is essential. A basic understanding of creating React applications using components, states, and props is recommended.
Understanding JavaScript and ES6:
- Since React is based on JavaScript, a good understanding of JavaScript, especially ES6 features, will be beneficial for comprehending the code examples provided in the article.
Experience with Web Development:
- A foundational knowledge of web development concepts, including HTML, CSS, and the basics of creating and running web applications, is assumed.
Introduction to Node.js and npm:
- The guide may involve using Node.js and npm for setting up and managing dependencies. Some familiarity with Node.js and npm (Node Package Manager) will be helpful.
Basic Docker Understanding (Optional):
- While this guide is designed for beginners, having a basic understanding of Docker concepts will be advantageous. However, the article covers Docker fundamentals, making it accessible even for those new to containerization.
Development Environment Setup:
- Ensure that Node.js and npm are installed on your machine. Additionally, having a code editor (e.g., Visual Studio Code) and a web browser for testing React applications is necessary.
Access to a Docker Environment (Optional):
- To fully engage with the Dockerization process, having Docker installed on your machine is beneficial. The guide may include instructions for Docker-related tasks, so having a working Docker environment will enhance the learning experience.
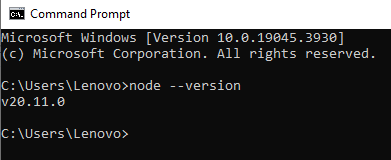
Our Vite + React app requires Node 16 or higher and a relevant npm version. Run the following command on the command prompt to check the node version:
node --version
Setting up the project
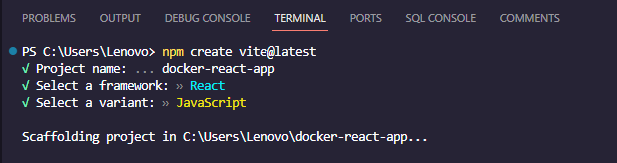
To set up our project, open up the terminal on VS Code and run the following command: Give a project name, choose React as a framework and Javascript as a variant.
npm create vite@latest
Run the following commands to navigate to your project directory and open it in the VS Code Editor:
cd docker-react-app
code .
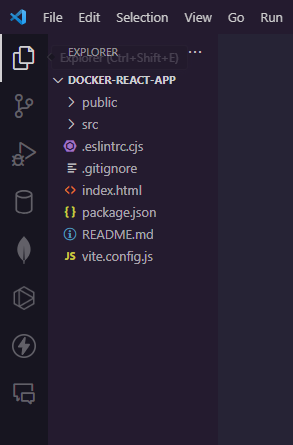
The image above shows what the file structure should look like.
Run the following command to install the necessary packages:
npm install
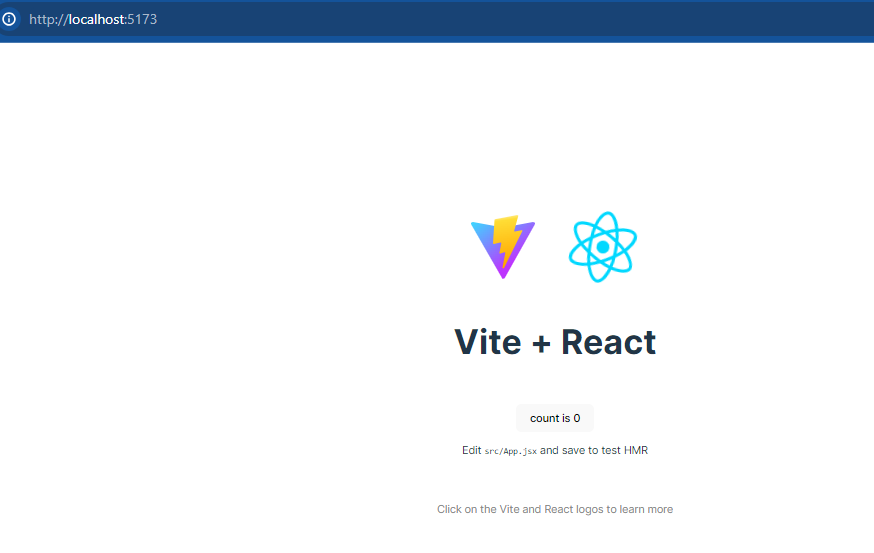
Use the following command to run the application:
npm run dev
When you open the link http://localhost:5173/ in the browser, you should see the following:
Configuring vite. config.js
The Vite configuration is an object having keys like plugins, server, build, preview, optimizeDeps, worker, and more. Check more here config
Only the most essential configuration choices will be covered in this tutorial. You can easily get everything set up by copying and pasting the configuration parameters provided below.
import { defineConfig } from 'vite'
import React from '@vitejs/plugin-react'

// https://vitejs.dev/config/


export default defineConfig({
  base: "/",
  plugins: [react()],
  preview: {
    port: 8080,
    strictPort: true,
  },
  server: {
    port: 8080,
    strictPort: true,
    host: true,
    origin: "http://localhost:8080",
  },
});
Let's break down the key elements of this configuration:
import { defineConfig } from "vite";- Imports the
defineConfigfunction from the Vite library. This function is used to create the configuration object for the Vite project.
- Imports the
react from "@vitejs/plugin-react";- Imports the Vite plugin for React. This plugin allows Vite to handle React components and provides optimizations specific to React development.
export default defineConfig({ ... });- Exports the default configuration object for the Vite project using the
defineConfigfunction.
- Exports the default configuration object for the Vite project using the
base: "/"- Specifies the base URL for the application. In this case, it's set to the root ("/") indicating that the application will be served from the root of the domain.
plugins: [react()]- Configures Vite to use the React plugin. This enables Vite to handle JSX and React components during the development and build processes.
preview: { port: 8080, strictPort: true }- Configures the development server's preview options. It sets the port to 8080 and enforces strict port usage. The development server is the environment where you can test and view your application during development.
server: { port: 8080, strictPort: true, host: true, origin: "http://0.0.0.0:8080" }- Configures the development server. It sets the port to 8080, enforces strict port usage, enables the host to be automatically determined, and specifies the origin (allowing connections from this origin). The host is set to
0.0.0.0, which means it's accessible from any IP address.
- Configures the development server. It sets the port to 8080, enforces strict port usage, enables the host to be automatically determined, and specifies the origin (allowing connections from this origin). The host is set to
Run the following command to build our app for production.
npm run build

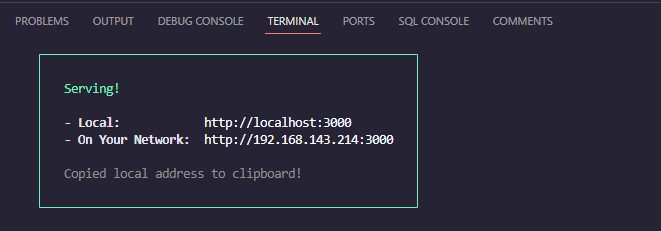
Run the following command to serve the build
serve -s dist
Dockerizing the application
Dockerization requires Docker installation. Running docker in the terminal checks if docker is installed. If not installed head here to install it install docker
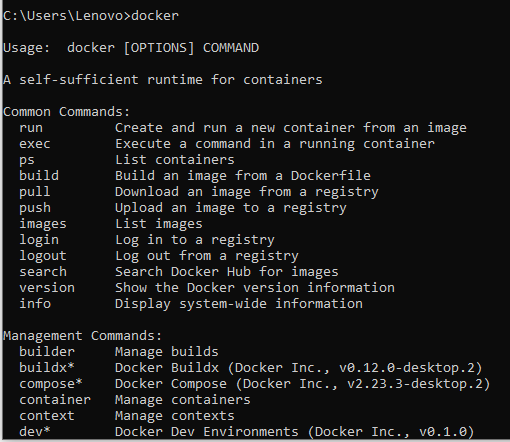
If it looks like the image above, docker is installed. Remember to start Docker Desktop if you use it.
Let's break down each section of the following Dockerfile:
FROM node:18-alpine

WORKDIR /app

COPY package.json.

RUN npm install

COPY . .

RUN npm run build

EXPOSE 8080

CMD [ "npm", "run", "preview" ]
FROM node:18-alpine
Specifies the base image for the Docker container. In this case, it's using the official Node.js image with Alpine Linux as the base. The Alpine variant is a lightweight distribution, making the resulting Docker image smaller.
WORKDIR /app
Sets the working directory inside the container to /app. This is where your application code will be copied, and subsequent commands will be executed.
COPY package.json
Copies the package.json file from the local directory (the directory where the Dockerfile is located) into the container at the current working directory (/app).
RUN npm install
Runs the npm install command inside the container. This installs the dependencies specified in the package.json file. The node:18-alpine base image includes Node.js and npm, allowing you to use them in your container.
COPY . .
Copies all the remaining files from the local directory into the container at the current working directory (/app). This includes your application source code.
RUN npm run build
Runs the npm run build command inside the container. This assumes that you have a build script defined in your package.json file. The build script is responsible for building your Next.js application.
EXPOSE 8080
Exposes port 8080. This is a declaration rather than an actual command to open the port. It informs anyone who might run the container that the application inside will use port 8080.
CMD [ "npm", "run", "preview" ]
Specifies the command to run when the container starts. This uses the CMD instruction to set the default command for the container. In this case, it runs the npm run preview command, assuming you have a preview script defined in your package.json file. This command starts the application.
Now create a Dockerfile at the root directory of your application and copy and paste the code above in it.
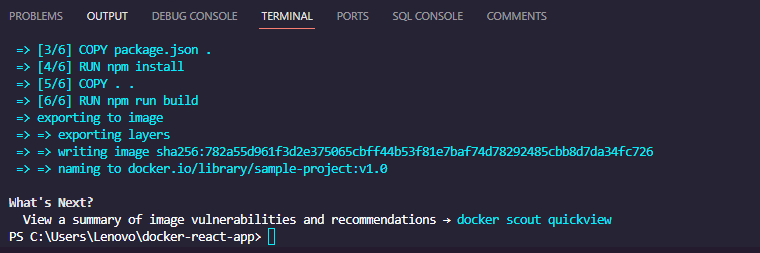
We can construct a Docker image from this Dockerfile before adding a docker-compose file. The following command can be executed to create an image from a Dockerfile:
docker build . -t "sample-project:v1.0"
This command accomplishes two goals.
Builds a Docker image from the current context; appends the "sample-project" and "v1" versions to the picture.
Now we can run the following command on our local PC to see what docker images are accessible.
docker images

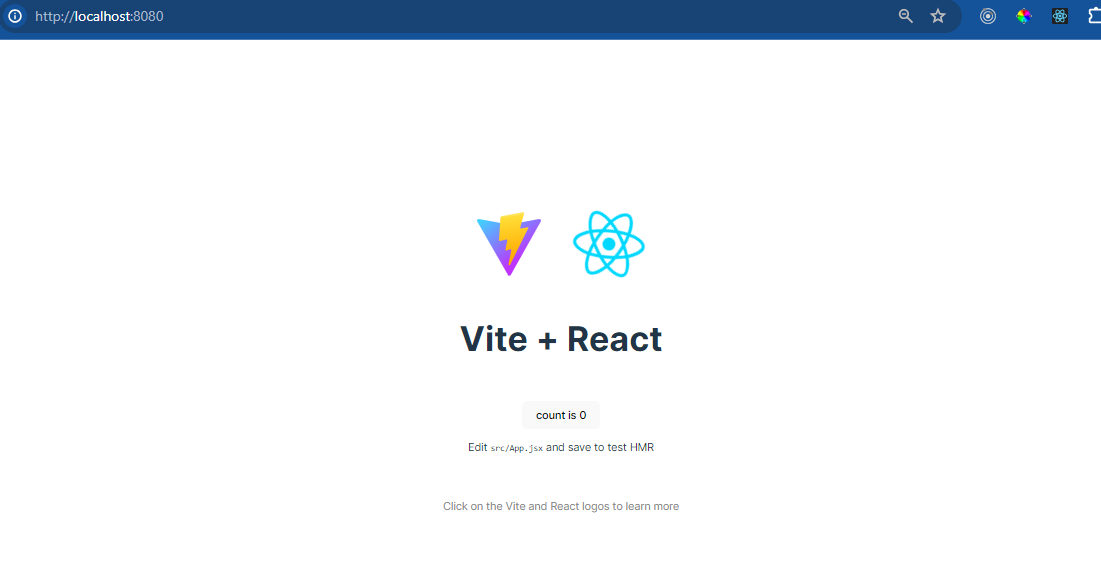
Very well. This image is now known as a container, so let's see if it runs. To launch a container using the "sample-project:v1.0" image, use the following command.
docker run -p 8080:8080 sample-project:v1.0
Here we are! Let's check localhost:8080 now. Within a Docker container, we have an application called Vite + React running.
Use the following command to get an ID in return:
docker run -d -p 8080:8080 sample-project:v1.0
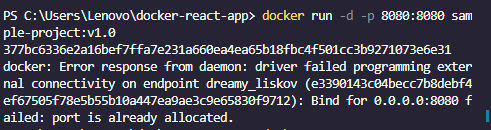
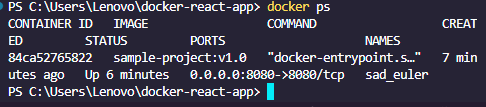
To make sure, we can execute the following command to get a list of all the containers that are now operating.
docker ps
Conclusion
Finally, this beginner's guide has given a thorough rundown of Dockerizing React applications created with Vite, providing an easy way to containerize your apps. For consistent deployment across different settings, developers can package their Vite-based React applications using the Dockerfile and execute the Docker image.
Dockerization improves the scalability and mobility of React apps and makes teamwork in development easier. Docker containers enable a uniform and reproducible development and deployment workflow by encapsulating application code, environment settings, and dependencies.
Developers who can figure out how to incorporate Docker into the React and Vite stack will be in high demand as containerization approaches gain traction. This tutorial helps newcomers to web development lay the groundwork for Dockerizing their React apps and reaping the benefits of this technology.
So that's the end of it. Throughout this post, we have discussed a great deal of material. I hope that you find this post to be informative. Be sure to give it a round of applause if you found it to be enjoyable. Additionally, make sure to share it with your friends and associates.


