
A step-by-step tutorial on creating a dynamic registration form using React, Tailwind CSS, and React Hook Form.


Table of contents
Introduction
By utilizing React, Tailwind CSS, and React Hook Form, you can construct a registration form that is both dynamic and efficient, allowing for a highly customizable user input experience. This tutorial will show you how to build a dynamic registration form using React for component-based development, Tailwind CSS for rapid and responsive styling, and React Hook Form for managing form state and validation. By leveraging the capabilities of these advanced technologies, developers can create intuitive, data-driven forms effortlessly, ensuring a smooth and hassle-free registration process for users.
Step-by-Step Guide
Setp 1: Set Up the Project
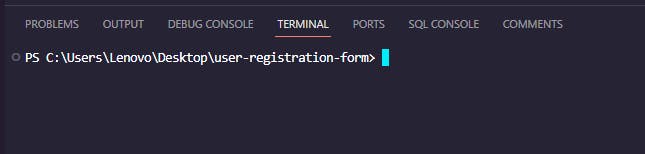
To begin, open the Visual Studio Code editor terminal and run the following code to initialize a React project.
npx create-react-app user-registration-form
cd user-registration-form
Now, let's install the dependencies that our project needs.
npm install react-hook-form react-icons
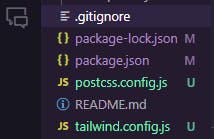
Setp 2: Installing Tailwind CSS and configuring
Type this command into your console to install Tailwind CSS.
npm install -D tailwindcss postcss autoprefixer
To turn on the tailwind configuration file, we need to run the following command:
npx tailwindcss init -p
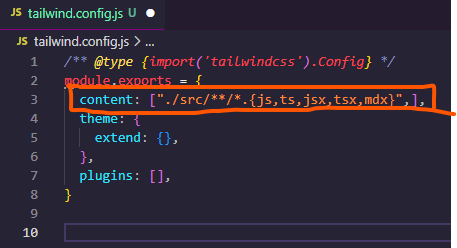
The next step is to add "./src/\*/*.{js,ts,jsx,tsx,mdx}"* to tailwind.config.js and define the path of the react components.
// Or if using `src` directory:
    "./src/**/*.{js,ts,jsx,tsx,mdx}",
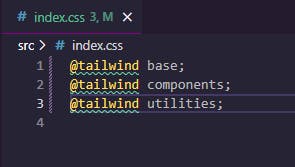
In the next step, we need to add tailwind directives to the index.css file
@tailwind base;
@tailwind components;
@tailwind utilities;
Let's lastly verify that our Tailwind CSS is configured correctly and operational.
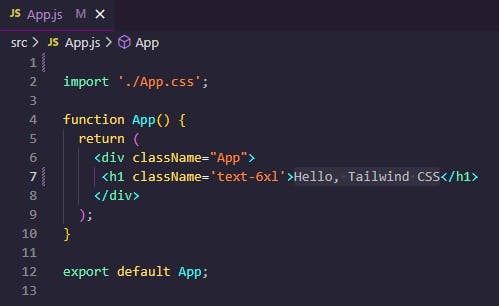
In the App.js file, we'll return an H1 element with the text "Hello, Tailwind CSS" and the style 'text-6xl'.
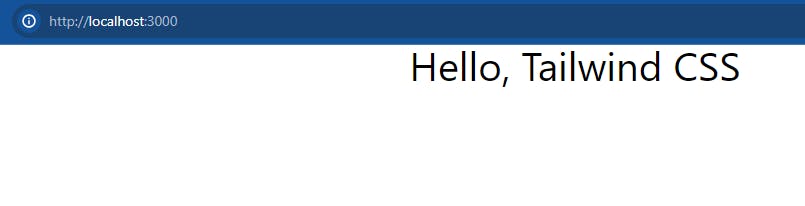
We can see the delivered h1 element with styling in the web browser when we run our application, which means that tailwind css has been successfully configured.
npm start
Step 3: Creating Folder Structure
Create a folder named components in the src directory, and within it, create the RegistrationForm.js file.
Include the code below in the RegistrationForm.js file.
import React from "react";
import { useForm } from "react-hook-form";
import { HiOutlineArrowCircleRight } from "react-icons/hi";

const fields = [
  {
    label: "First Name",
    type: "text",
    placeholder: "Jose",
    required: true,
    gridCols: 1,
  },
  {
    label: "Last Name",
    type: "text",
    placeholder: "",
    required: true,
    gridCols: 1,
  },
  {
    label: "Email",
    type: "email",
    placeholder: "Jose@example.com",
    required: true,
    gridCols: 2,
  },
  {
    label: "Phone",
    type: "tel",
    placeholder: "+254 123-456-7890",
    required: true,
    gridCols: 2,
  },
  {
    label: "Address",
    type: "text",
    placeholder: "Tom Mboya street, Nairobi",
    required: true,
    gridCols: 2,
  },
  {
    label: "Password",
    type: "password",
    placeholder: "Enter your password",
    required: true,
    gridCols: 1,
  },
  {
    label: "Confirm Password",
    type: "password",
    placeholder: "Confirm your password",
    required: true,
    gridCols: 1,
  },
];

export default function RegisterForm() {
  const {
    register,
    handleSubmit,
    formState: { errors },
    watch,
  } = useForm();

  const onSubmit = (data) => {
    console.log(data);
    // You can perform further actions with the form data here
  };
  return (
    <div>
      <div className="container mx-auto">
        <div className="lg:w-7/12 pb-10 pt-5 w-full p-4 flex flex-wrap justify-center shadow-2xl my-20 rounded-md mx-auto bg-gray-100">
          {/* Update background color and container padding */}
          <div className="pb-5 w-full">
            <h1 className="text-3xl font-bold text-blue-700">Register Form</h1>
            {/* Change heading color */}
          </div>
          <form
            onSubmit={handleSubmit(onSubmit)}
            className="flex flex-col justify-start items-center w-full m-auto"
          >
            <div className="grid grid-cols-1 mb-6 md:grid-cols-2 gap-3 w-full">
              {fields.map((field, index) => (
                <div
                  key={index}
                  className={`text-left flex flex-col gap-2 w-full ${
                    field.gridCols === 2 ? "md:col-span-2" : ""
                  }`}
                >
                  <label className="font-semibold text-blue-700">
                    {field.label}
                    {/* Change label color */}
                  </label>
                  <input
                    {...register(field.label.toLowerCase(), {
                      required: field.required,
                    })}
                    className={`border border-gray-400 text-sm font-semibold mb-1 max-w-full w-full outline-none rounded-md m-0 py-3 px-4 md:py-3 md:px-4 md:mb-0 focus:border-blue-700`}
                    // Update border and focus color
                    type={field.type}
                    placeholder={field.placeholder}
                  />
                  {errors[field.label.toLowerCase()] && (
                    <span className="text-red-500">
                      This field is required
                      {/* Change error message color */}
                    </span>
                  )}
                </div>
              ))}
            </div>

            <div className="w-full text-left">
              <button
                type="submit"
                className="flex justify-center items-center gap-2 w-full py-3 px-4 bg-blue-700 text-white text-md font-bold border border-blue-700 rounded-md ease-in-out duration-150 hover:bg-white hover:text-blue-700 lg:m-0 md:px-6"
                // Update button colors
                title="Confirm Order"
              >
                <span>Register</span>
                <HiOutlineArrowCircleRight size={20} />
              </button>
            </div>
          </form>
        </div>
      </div>
    </div>
  );
}
In the code above, we are implementing React Hook Form. The code establishes a registration form that handles form state and validation. The mapping operates across an array of fields and dynamically generates input elements. A function is invoked upon submission to record the form data, and visual feedback is provided for required fields and submissions via dynamic classNames and styles.
Step 4: Updating App.js file
Open the App.js file and update it with the following code:
// App.js
import React from "react";
import RegisterForm from "../components/RegisterForm";
export default function Home() {
  return (
    <div>
      <RegisterForm />
    </div>
  );
}
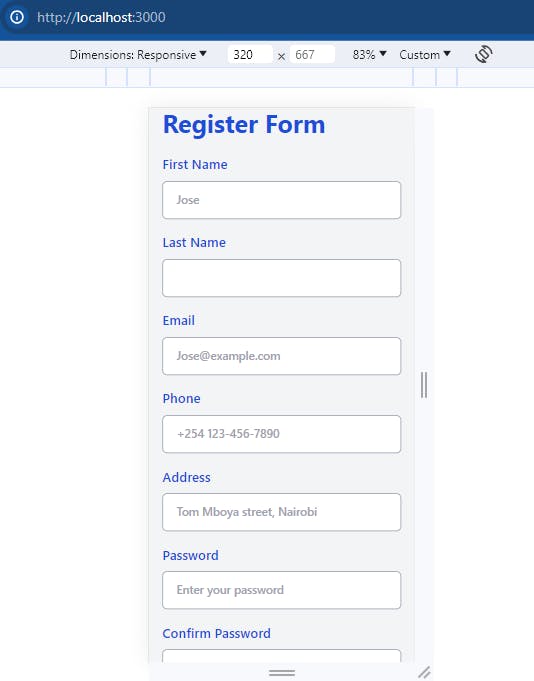
Finally, as you can see in the images below, we have created a registration form that is entirely responsive. This means that it can adapt its layout and elements to different screen sizes, making it easy to use on PCs, tablets, and mobile phones.

Conclusion
The purpose of this tutorial was to teach you how to use React, Tailwind CSS, and React Hook Form to build a registration form. Build flexible and reliable forms for your web applications with the help of React Hook Form, Tailwind CSS's utility-first approach, and React's declarative structure. Feel free to modify the form according to the needs and preferences of your project.