Making a RESTful API using Express, MongoDB, and Node.js: A Complete Guide


Introduction
The Representational State Transfer REST architecture style is a way of building applications that may be used in a network. Conceptually, it lays down the rules for how web services should talk to each other using the Hypertext Transfer ProtocolHTTP. Resources in RESTful APIs are accessible by distinct URLs, and operations on these resources are carried out using the normal HTTP methods GET POST, PUT, and DELETE. Because of the design's emphasis on stateless communication, all the necessary information to interpret and process a client request is included inside it. With RESTful APIs, web service development is standardised and scalable, facilitating client-server resource access and manipulation and facilitating system-to-system interoperability.
When it comes to creating RESTful APIs, a popular and powerful stack for web application development is Express, MongoDB, and Node.js. A quick rundown of why each part is important is this:
- Node.js:
Devoid of blocking Regarding input/output, Node.js is well-known for efficiently processing concurrent requests due to its event-driven, non-blocking architecture. To construct performant, scalable apps, this is essential.
- Express:
Built on top of Node.js, Express is a web application framework that allows for creating powerful APIs and web apps with minimum and adaptable code. Routing, middleware integration, and HTTP request handling are just a few of the typical operations that it streamlines.
- MongoDB:
NoSQL database: One well-known NoSQL database is MongoDB, which uses adaptable documents similar to JSON to store data. Agile development and easy scalability are made possible by its schema-less nature. When dealing with massive volumes of unstructured data, it shines.
If you have Visual Studio Code, MongoDB, Node.js, and npm installed, then you should be good to go.
Make sure to check the following if you haven't already:
Setting Up the Environment
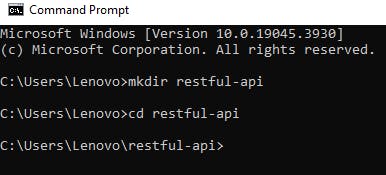
To begin, let's make a new folder for the project. Launch your terminal and execute each command individually.
mkdir restful-api
cd restful-api
On your computer, this will make a new directory.
Run the following command in the terminal to initialize our project. Make sure you're in the folder where you just created it.
npm init
The command above will show you how to make a package.json file. Type in the question's information, then press "Enter" to move on to the next query.
Once you finish setting up the package.json file, enter the following command to launch your application on VS code
code .
Installing Dependencies
Installation of project packages is done with the following terminal command. We install nodemon to restart the server after file changes.
npm install express mongoose dotenv
npm install -g nodemon
This command will install the following:
Express: To construct the web server.Mongooseis an object data modelling (ODM) library that is compatible withMongoDB.To load environment variables from
a.envfile, use thedotenvvariable.
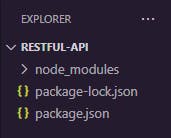
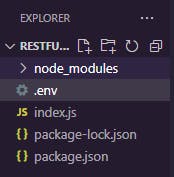
Following the execution of the command described above, the structure of your project folder should look like this.
Setting up a simple Express app
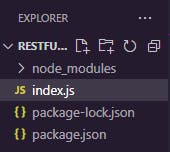
Begin by creating a file in your root directory that is called index.js.
To understand how to set up an Express app, head to this website expressjs.com, Then, after clicking on Getting Started, select the Hello World option. You are going to find the code for the basic example of Hello World.
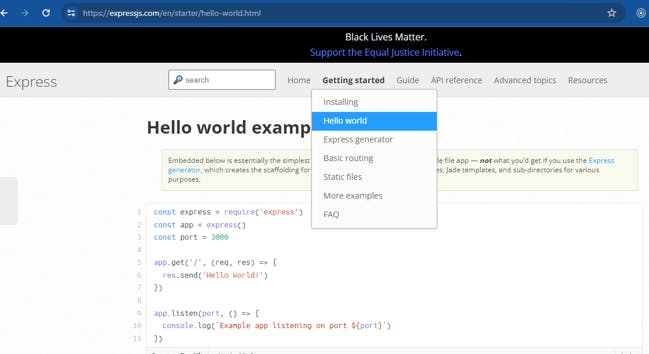
Copy the code and paste it into the index.js file we just made. you can change Example app listening on port ${port} to Server is listening on port ${port}
const express = require("express");
const app = express();
const port = 3000;

app.get("/", (req, res) => {
  res.send("Hello World!");
});

app.listen(port, () => {
  console.log(`Server is listening on port ${port}`);
});
Run the server with the following command
index.js
Output on the terminal

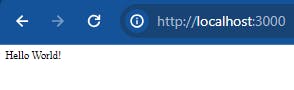
A page saying Hello world! will load in your browser when you navigate to localhost:3000. Which means our server is running properly.
Creating a MongoDB database
We will create a Database on MongoDB Atlas in this step.
To begin, visit MongoDB Atlas and either register for an account or log in with the one you currently have.
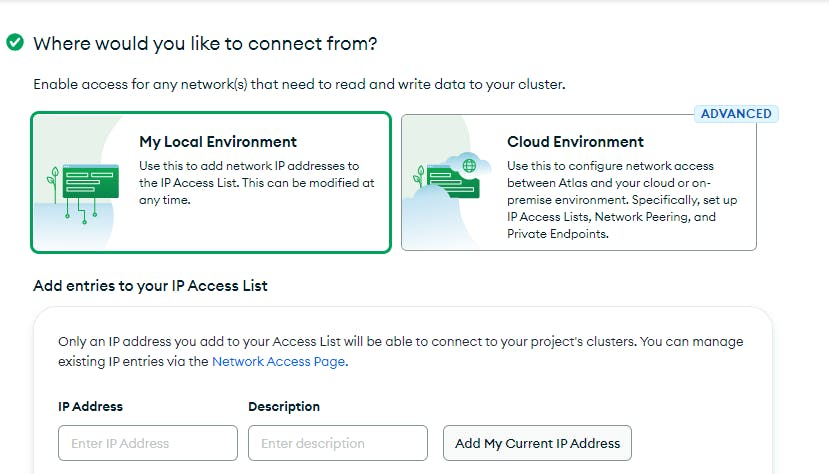
A username and password are required when making a new account, so be sure to fill them out. After that, enter your IP address and select My Local Environment in the second step. Select Finish and Close from the bottom menu.
After that, locate Database in the left-hand menu and, on the right-hand side of the screen, click the Create button. create a free Shared Cluster. To join the cluster, go to its homepage and look for the "connect" option.
The following window will appear and then click on the Compass link.
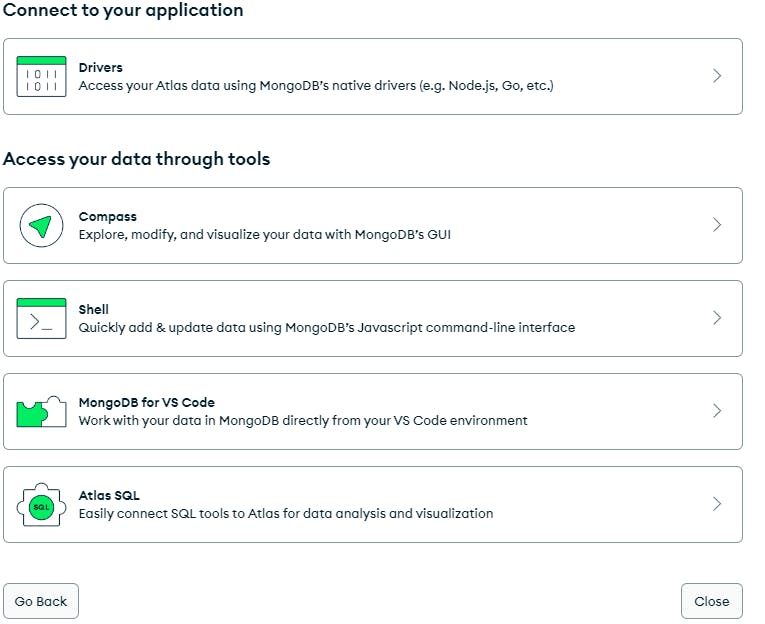
Make a copy of the connection string and substitute it with the password you've already generated. If you haven't already, make sure to install the MongoDB Compass.
This is how your connection string ought to appear.
mongodb+srv://dandev20:<password>@cluster0.m56pnex.mongodb.net/
Creating a .env file
We can create a new file in the root directory named .env to secure our mongoDB connection string.
Put this code into the.env file.
MONGODB_URL=<Your MongoDB Connection String>
Put the connection string that you got from MongoDB Atlas instead of. After that, your.env file should match this.
mongodb+srv://dandev20:******@cluster0.m56pnex.mongodb.net/my-restful-api
At the end of the connection string I have added my-restful-api which is my database name, feel free to customize your database name.
Connecting to MongoDB using Mongoose
The following Node.js script connects to a MongoDB database using the Mongoose module. The dotenv module, which handles environment variables, and Mongoose, which interacts with MongoDB, are among the required dependencies imported at the beginning. The connection is established using the mongoose.connect() method, which retrieves the MongoDB connection URL from the.env file. A message confirming the successful connection to MongoDB is printed to the console when the connection is successful. To link to the MongoDB, include the following code in your index.js file.
require("dotenv").config(); //for using variables from .env file.
const app = express();
const port = 3000;

mongoose.connect(process.env.MONGODB_URL).then(() => {
  console.log("MongoDB is connected!");
});

app.get("/", (req, res) => {
  res.send("Hello World!");
});

app.listen(port, () => {
  console.log(`Server is listening on port ${port}`);
});
This is the expected terminal output after restarting the server with the node index.js command.
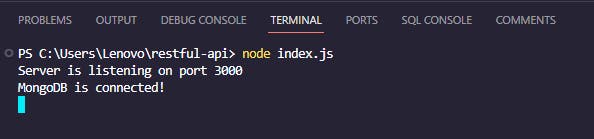
If you don't see that MongoDB is connected, make sure you restart the server and check to see if you added the IP address to MongoDB's network access.
Define simple schema
We begin by creating a basic project schema. To accomplish this, in your project's root directory, make a new folder called model and then in that folder, create a file called todo.js.
The following snippet of code uses the Mongoose module to define a Task schema in MongoDB. It is written in Node.js. The schema is comprised of two fields: title and description both of type String. In order to organize the data model, the Schema class from Mongoose is utilized. To communicate with MongoDB documents that adhere to this schema, a Mongoose model called Task is generated using mongoose.model() after the schema is defined. Last but not least, other components of the app can make use of the Task model by exporting it to the MongoDB database. Add the code to the task.js file.
const mongoose = require("mongoose");
const { Schema } = mongoose;

const taskSchema = new Schema({
  title: {
    type: String,
  },
  description: {
    type: String,
  },
});

const Task = mongoose.model("Task", taskSchema);
module.exports = Task;
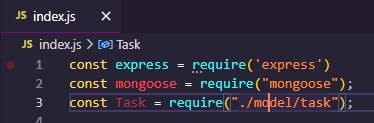
Let's import this model in our index.js file
Implementing CRUD Operations
Create, Read, Update, and Delete (CRUD) are the four cornerstones of database administration and data processing. To manage and interact with data inside a system or application, these activities are crucial. Every action has its distinct function:
Creating resources (POST)
During this process, further records will be added to the database. It typically refers to adding a new document to an existing collection when discussing MongoDB and Mongoose.
In the following code;
The /tasks/create endpoint is an HTTP POST method for adding a new task to the list. The code within the async function is executed whenever a POST request is made to /tasks/create. The data in the request body req.body is used to create a new task item using the Task.create method. The newly created task is sent in JSON format along with a status code 201 if the creation is successful. A 500 status code and the words Internal Server Error are the responses it gives if an error occurs during the operation. Add the code to the index.js file
// Create an task item
app.post("/task/create", async (req, res) => {
  try {
    const newTask = await Task.create(req.body);
    res.status(201).json(newTask);
  } catch (error) {
    res.status(500).json({ error: "Internal Server Error" });
  }
});
Read resources (GET)
Reading is getting information out of a database using queries and retrieval. You can use this operation to retrieve data according to specific criteria, like whether you need to get one document, a few documents, or the entire collection.
The following Express.js route handler handles /tasks GET requests. Todo.find() fetches all todos from MongoDB and returns a JSON response with a 200 status code on success. The process logs errors and sends a JSON response with a 500 status code for internal server errors. add the code to the index.js file
// Read all tasks
app.get("/tasks", async (req, res) => {
  try {
    const tasks = await Task.find();
    res.status(200).json(tasks);
  } catch (error) {
    console.log(error);
    res.status(500).json({ error: "Internal Server Error" });
  }
});
Updating resources (PUT/PATCH)
Updating includes changing database records. It can involve changing document fields or replacing the whole thing.
The following Express.js route handler updates tasks by ID via a PUT request at "/tasks/:id". The Task.findByIdAndUpdate method finds the task by ID and updates it with request body data. Updated tasks are provided as JSON responses with a 200 status code on success and a 500 status code on failure, signalling an internal server fault. Add the code to the index.js file.
// Update a task by ID
app.put("/tasks/:id", async (req, res) => {
  try {
    const updatedTask = await Task.findByIdAndUpdate(req.params.id, req.body, {
      new: true,
    });
    res.status(200).json(updatedTask);
  } catch (error) {
    res.status(500).json({ error: "Internal Server Error" });
  }
});
Deleting resources (DELETE)
The delete procedure removes database records. This usually implies removing documents from a MongoDB collection.
This Node.js and Express code define a route handler for handling HTTP DELETE requests to "/tasks/:id". It uses MongoDB/Mongoose to delete a task by its ID, responding with a status code of 204 if successful, or 500 with an error message if an internal server error occurs.
app.delete("/tasks/:id", async (req, res) => {
  try {
    await Task.findByIdAndDelete(req.params.id);
    res.status(204).send();
  } catch (error) {
    res.status(500).json({ error: "Internal Server Error" });
  }
});
Since we will be reading the data in JSON format, we must add the following line of code to our index.js file before testing our API.
//middleware provided by Express to parse incoming JSON requests.
app.use(express.json());
index.js
const express = require('express')
const mongoose = require("mongoose");
const Task = require("./model/task");

require("dotenv").config(); //for using variables from .env file.
const app = express()
const port = 3000

//middleware provided by Express to parse incoming JSON requests.
app.use(express.json());

mongoose.connect(process.env.MONGODB_URL).then(() => {
    console.log("MongoDB is connected!");
  });

app.get('/', (req, res) => {
  res.send('Hello World!')
})


// Create an task item
app.post("/tasks/create", async (req, res) => {
  try {
    const newTask = await Todo.create(req.body);
    res.status(201).json(newTask);
  } catch (error) {
    res.status(500).json({ error: "Internal Server Error" });
  }
});

// Read all todos
app.get("/tasks", async (req, res) => {
  try {
    const tasks = await Task.find();
    res.status(200).json(tasks);
  } catch (error) {
    console.log(error);
    res.status(500).json({ error: "Internal Server Error" });
  }
});

// Update a task by ID
app.put("/tasks/:id", async (req, res) => {
  try {
    const updatedTask = await Task.findByIdAndUpdate(req.params.id, req.body, {
      new: true,
    });
    res.status(200).json(updatedTask);
  } catch (error) {
    res.status(500).json({ error: "Internal Server Error" });
  }
});

// Delete a todo by ID
app.delete("/tasks/:id", async (req, res) => {
  try {
    await Task.findByIdAndDelete(req.params.id);
    res.status(204).send();
  } catch (error) {
    res.status(500).json({ error: "Internal Server Error" });
  }
});

// Delete a todo by ID
app.delete("/tasks/:id", async (req, res) => {
  try {
    await Task.findByIdAndDelete(req.params.id);
    res.status(204).send();
  } catch (error) {
    res.status(500).json({ error: "Internal Server Error" });
  }
});

app.listen(port, () => {
  console.log(`Server is listening on port ${port}`)
})
Testing the API
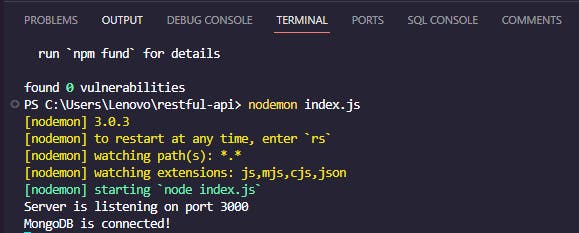
Run your server using this command.
nodemon index.js
When it comes to testing the API, I'm making use of the Thunder Client extension for Visual Studio Code.
To install the Thunder Client extension, click on manage icon on bottom left corner and select extensions.
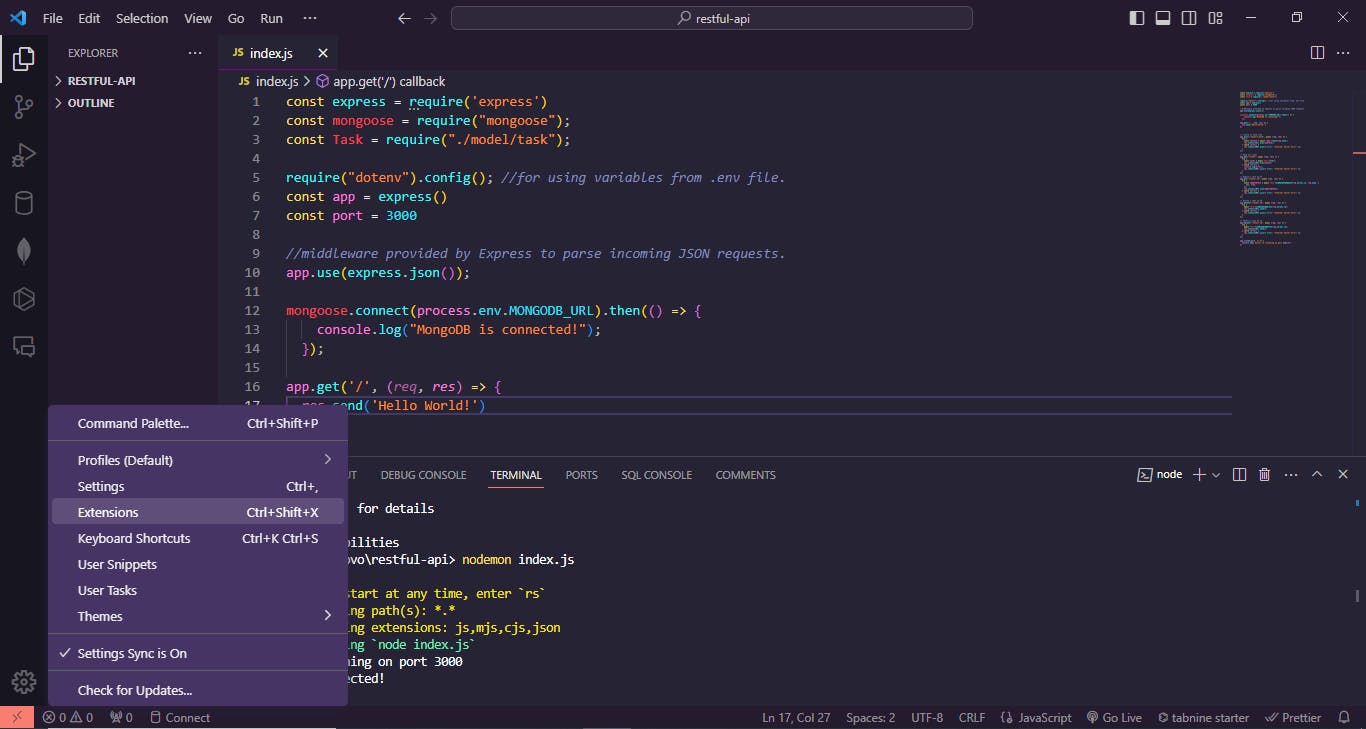
Use the search bar to look for it, and then install it. After installing a thunder client icon will apper on the left screen, click on it and then click on new request on top to start working with it.
Creating a new Task item using POST request
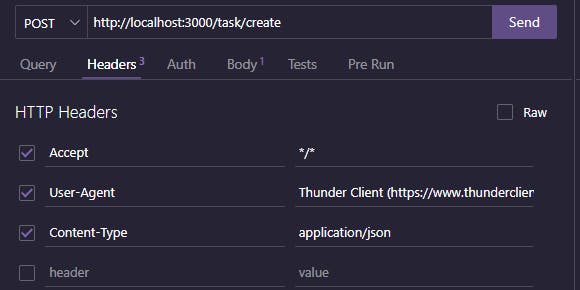
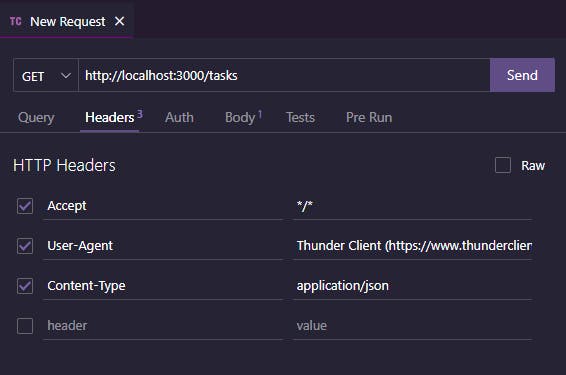
Make sure that the Content-Type is set to application/json in the Headers tab, then select POST and write the URL along the lines as in the image below.
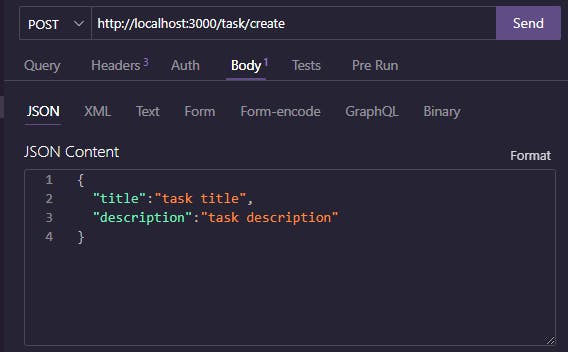
Make sure to include a title and description of the Task item in the Body tab, just like we see in the image.
The following response will be displayed after you click the Send button.
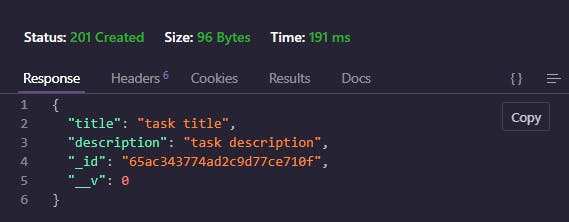
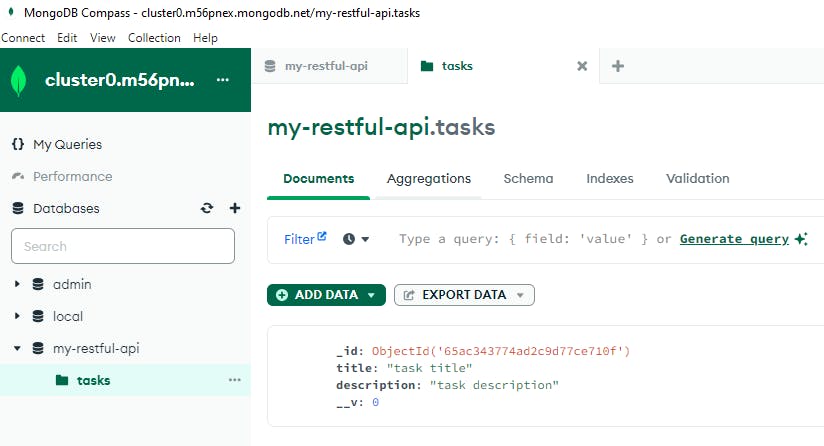
We completed our first duty. You can create more task items with different titles and descriptions using the same approach. The MongoDB compass app can also display these items after connecting with your connection string, as shown below.
Select compass as the tool to connect to MongoDB compass by clicking connet on MongoDB. substitute with your own password and insert it into the campass connection string.
Get all tasks using a GET request
To access the tasks, select GET, copy the URL (as seen in the figure below), and then hit the Send button.
As can be seen in the image, you will receive the response.

Update task using PUT request
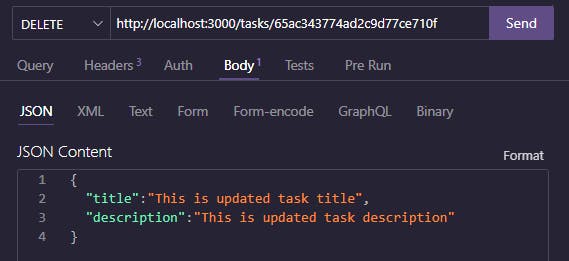
We are going to require the id of the task item in order to properly update the task. It is therefore necessary for you to copy the id of the task that you obtained in the previous response. To write the URL, select the PUT option and write it down as seen in the image.
Now, change the title and description in the Body tab.

When you click "Send," you'll get the message below.

Delete a task item using the DELETE request
Prior to deleting the task, we will need to know its ID. You need to copy the ID that you got in the last response . Select "DELETE" and write down the URL, as shown in the picture below.
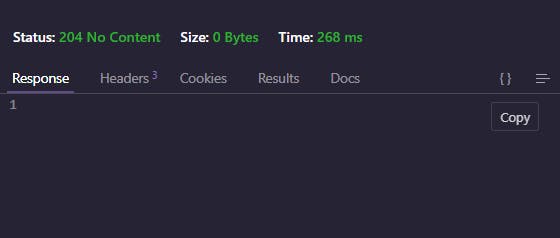
This is what you'll get after hitting the "Send" button.
Conclusions
Using Express, MongoDB, and Node.js, this detailed article has provided you with a full walkthrough of the main processes and concepts involved in the process of developing a RESTful application programming interface (API). We went over the fundamental components of establishing routes, interacting with MongoDB by means of Mongoose, and putting in place important HTTP methods. Developing a robust and scalable application programming interface (API) is ensured by placing a strong emphasis on error handling, the utilization of middleware, and adherence to best practices.